Ruby on Rails on Windows 10 in 2019
If you want to install Ruby on Rails on Windows, look no further! I recommend that you use either Linux or macOS to develop in Rails if you have the option. But sometimes you have no choice. My Macbook has to go back to Apple for repairs so I decided to try developing on Windows. Here is my setup:
Install WSL
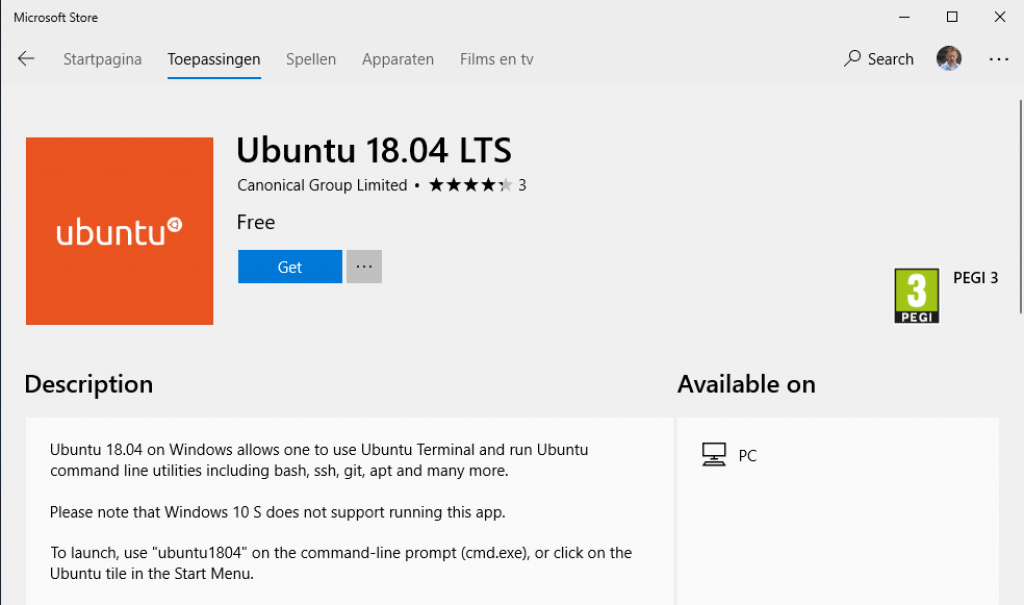
You can use Ruby in Windows with Ruby for Windows but if you want to use Rails I recommend that you use WSL. WSL is short for Windows Subsystem for Linux and it creates a Linux environment in Windows. WSL is fully supported by Microsoft so you can get it for free from the Microsoft Store:
Installing:
 But don’t start it after the install finishes. Open a Windows Powershell with Administrator rights.
And copy and paste this line:
Enable-WindowsOptionalFeature -Online -FeatureName Microsoft-Windows-Subsystem-Linux
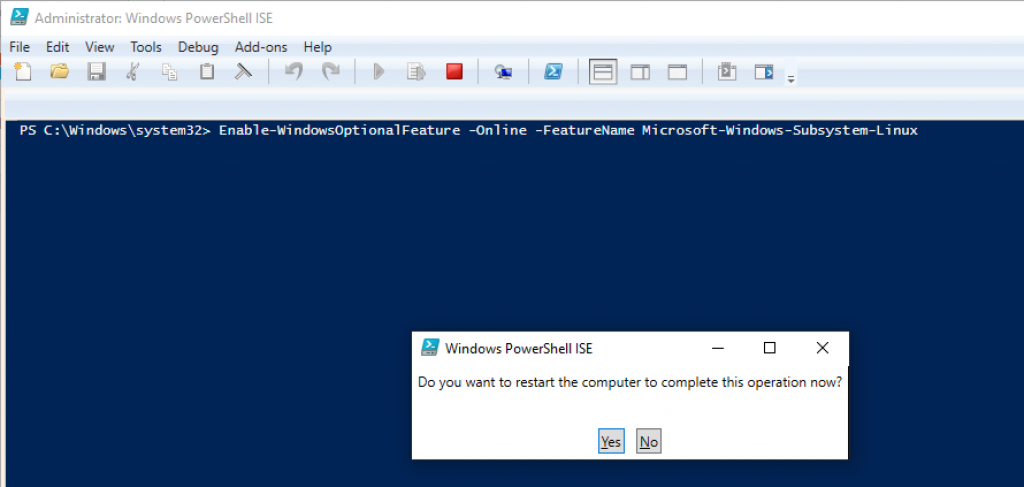
Hit “Enter” and restart your computer.

If you don’t enter the “Enable-WindowsOptionalFeature” line you will get the following error and WSL won’t work:

Install updates and dependencies
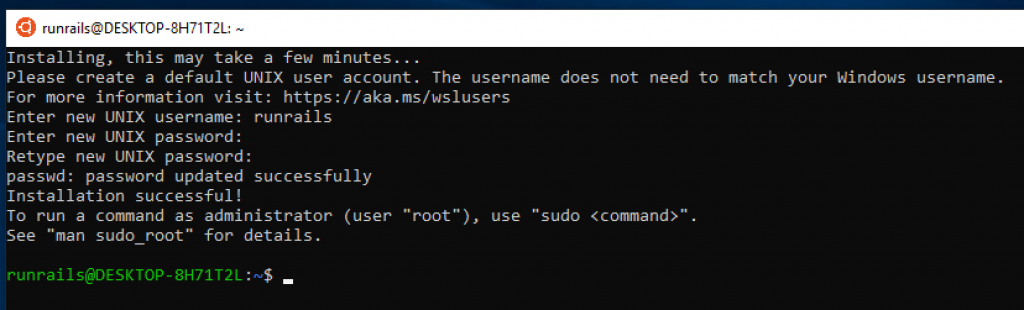
Now that you have WSL installed it’s time to start it. The first time it starts you are asked to create a user. Go ahead and create one, make sure you remember the password!
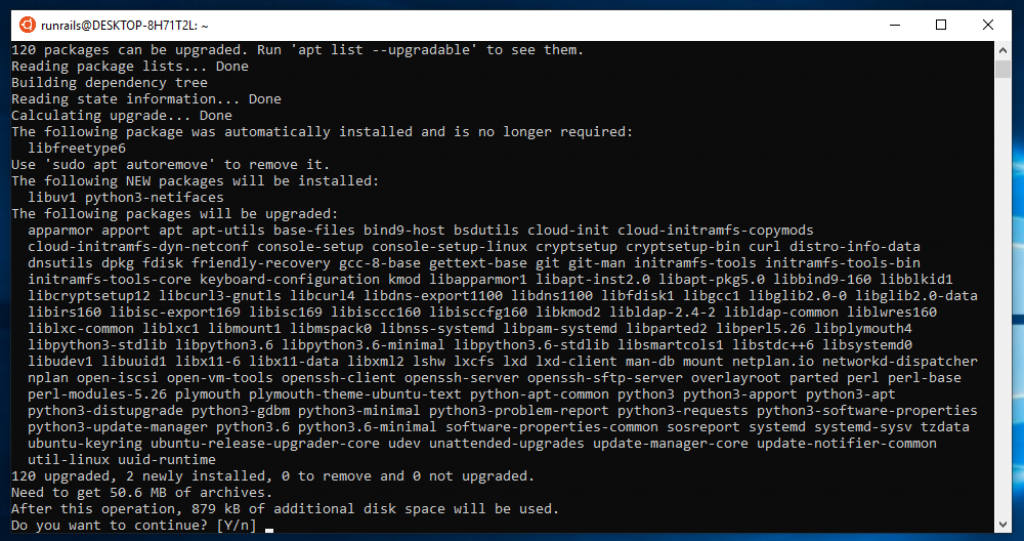
 Before we start installing stuff we have to update the Linux packages. Copy and paste this line to update everything:
sudo apt update && sudo apt dist-upgrade && sudo apt-get autoremove && sudo apt-get clean
Tip: you can right-click to paste something in the WSL terminal.
It’s a good practice to run this line once a month to keep things updated and safe.
Install Ruby and Rails and dependencies
Just a tip: if you hold shift while clicking on the Ubuntu icon you open a second window.
Rails has a lot of dependencies, let’s install them:
sudo apt-get install git-core curl zlib1g-dev build-essential libssl-dev libreadline-dev libyaml-dev libsqlite3-dev sqlite3 libxml2-dev libxslt1-dev libcurl4-openssl-dev software-properties-common libffi-dev libreadline-dev zlib1g-dev
Before we can install Rails we need Ruby first. There are many ways to install Ruby:
Let’s go with rbenv because that is the most common way:
curl -fsSL https://github.com/rbenv/rbenv-installer/raw/master/bin/rbenv-installer | bash
and add rbenv to the PATH variable, like it asks for after installation:
echo 'export PATH="$HOME/.rbenv/bin:$PATH"' >> ~/.bashrc
echo 'eval "$(rbenv init -)"' >> ~/.bashrc
exec $SHELL
Be careful when copy & pasting, sometimes Windows turns single quotes (‘) into backticks (`) or other curly quotes.
When rbenv is installed you can use it to install Ruby and activate it. No need for sudo this time.
rbenv install 2.5.3
rbenv local 2.5.3
TIP: I’ve noticed that WSL sometimes seems to hang, usually selecting the window and pressing a random key is enough to activate it again. So when the commands above seem to take a very long time press the spacebar every now and then to make sure it’s still working.
Time to install bundler and then Rails:
gem install bundler
gem install rails
You now have an up to date WSL environment with rbenv, ruby 2.5.3 and the latest bundler and rails installed.
Databases
I’ll do a writeup of installing Postgresql in another post. But it basically comes down to two choices:
- install Postgres inside WSL
- install Postgres with the Windows installer
My recommendation is to use the Windows installer because I ran into some weird problems when trying to use Postgres in WSL. Use the interactive installer, not the Graphical installer by BigSQL.
Some tips and tricks
Ping me on Twitter or email if you need more help. Or look at one of the guides other people have written:
GoRails: Rails on Windows 10